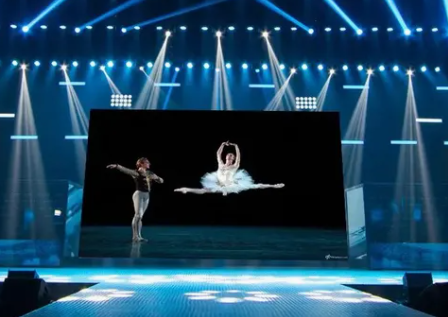
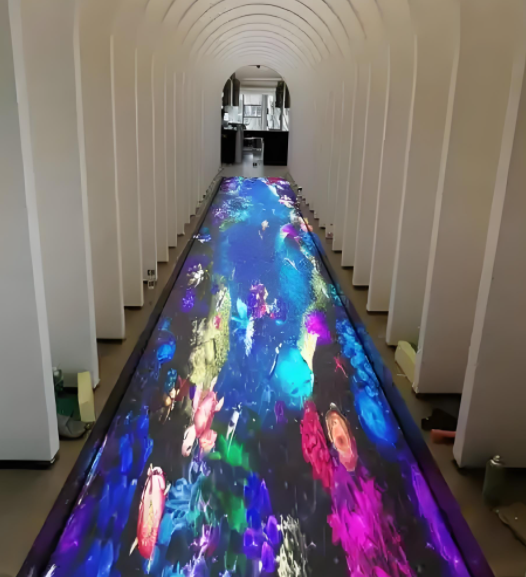
LED Electronic Screen | High Definition Display Solutions to Light Up Your Every Moment
Ultra-Detailed Installation Guide for Flexible LED Film Screen
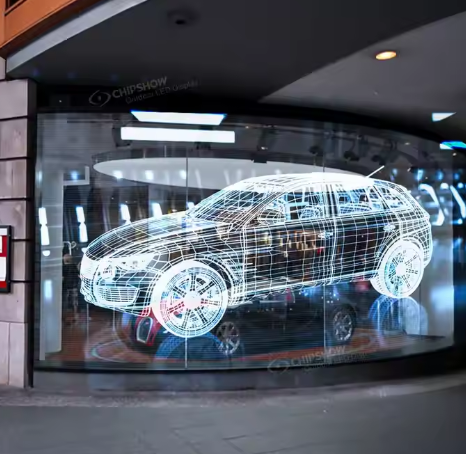
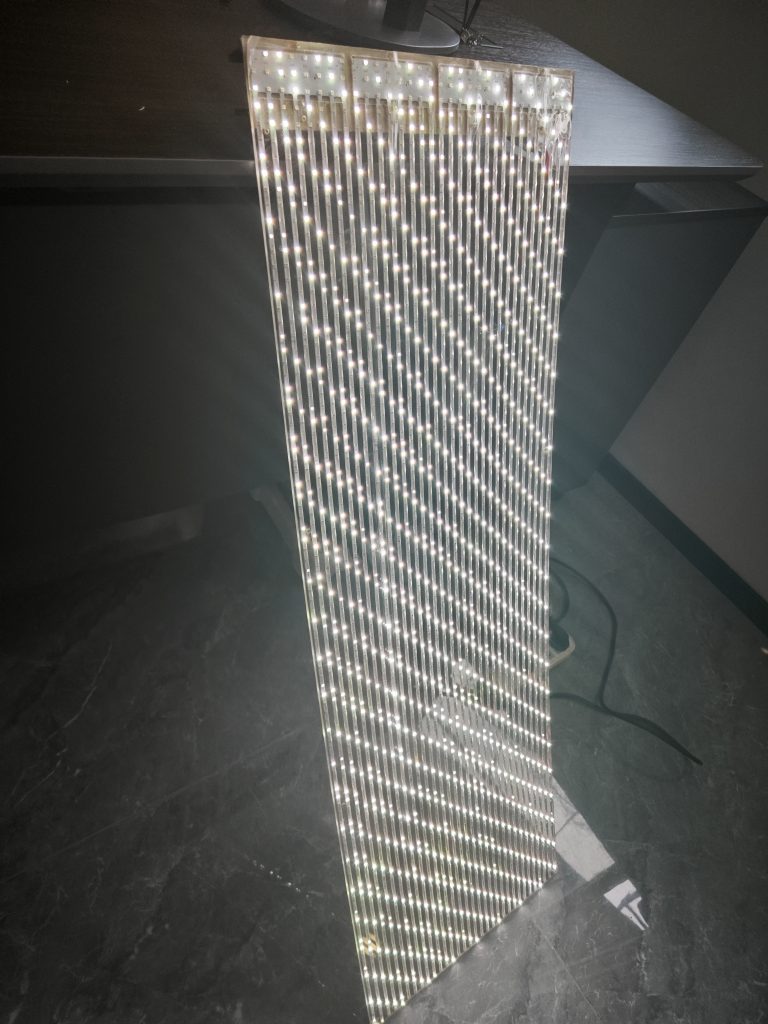
LED crystal film screen is a kind of ultra-thin, flexible, highly transparent display screen, widely used in shopping mall windows, exhibition halls, smart home and other scenes. Its core advantage lies in its thinness and bendability, but special attention should be paid to surface protection and precise positioning during installation.

The following tools and materials need to be prepared before installation of Crystal Film Screen
- Crystal film screen module and supporting control card
- Dust free cloth, alcohol cleaner, anti-static gloves
- Magnetic mounting frame or double sided tape (choose according to the scene)
- Laser level, tape measure, hot air gun (for curved surface lamination)
- Power cord, signal cable, waterproof adhesive (necessary for outdoor scenes)
Environment Check of Crystal Film Screen
Ensure that the installation wall is flat and dust-free, the temperature is controlled at 10-35℃ (to avoid low-temperature embrittlement or high-temperature adhesive failure), and the humidity is ≤80%.
Installation Steps of Crystal Film Screen
- Positioning and measurement
- Use laser level to mark the installation area to ensure that the horizontal and vertical deviation is ≤1mm.
- Measure the size of the crystal film screen module and plan the splicing sequence (it is recommended to expand from the center to the surrounding).
- Install the magnetic frame (this step can be omitted if adhesive mounting is used)
- If magnetic mounting is used, first fix the metal frame to the wall and reinforce it with expansion screws.
Frame splicing needs to leave 0.5mm expansion gap (to avoid thermal expansion and contraction deformation).
- If magnetic mounting is used, first fix the metal frame to the wall and reinforce it with expansion screws.
- Screen mounting
- Clean the surface: wipe the installation surface with a dust-free cloth dipped in alcohol to ensure that there is no oil, dirt, particles.
- Tear the film to fit: slowly tear the protective film from one corner of the screen, align the frame and then gently press to expel air bubbles (can be assisted by a squeegee).
- Curved surface treatment: If you need to bend the installation, use a hot air gun to evenly heat to 60-80 ℃ (not over temperature), slowly molded to fit the arc.
- Wiring and power supply
- Connect the lines in the order of “control card→power supply→signal source” to avoid electrified operation.
- Outdoor scenes need to seal the interface with waterproof glue and install lightning protection module.
- Fixing and debugging
- Reinforce the edges with invisible clips or adhesive strips to prevent warping.
- After power on, through the control software, calibrate the color consistency, adjust the splicing seam compensation parameters.
Debugging and Maintenance Considerations of Crystal Film Screen
- Display effect debugging
- Use the grayscale test chart to check for bad spots, and the abnormal areas can be handled with the special repair pen. Adjust the brightness to the ambient light adaptation mode
- Daily maintenance
- Disable chemical solvents when cleaning, use a dry cloth or screen special cleaner to gently wipe.
Regularly check the aging of the waterproof adhesive at the joints.
- Disable chemical solvents when cleaning, use a dry cloth or screen special cleaner to gently wipe.
- Troubleshooting
- Partial malfunction: Prioritize the investigation of loose signal lines or control card failure.
Screen warping: After power failure, use the hot air gun to locally heat the screen, and then press and fix it again.
- Partial malfunction: Prioritize the investigation of loose signal lines or control card failure.
The installation of LED crystal film screen needs to take into account the accuracy and flexibility of adaptation, through standardized operation can maximize its visual effect and service life. For customized solutions or technical advice, welcome to contact our engineer team!

